YouTube Channel

Sunday, September 7, 2014

This week's set up & a walk through of my EC Life Planner in my Filofax

Here's what this week's spread looks like.  I used green, purple and a soft yellow this week and created a bird on a wire type theme.


I've seen a lot of people use washi to label the weekend, so I decided to create a bracket label to fit at the top and the bottom of my weekend instead.


I made this little bird clip for the week.


And as a first this week I made my own magnet page marker.  The idea came to me because I wanted another bird somewhere on the spread but I didn't want it permanent and I didn't want to stick a paperclip on the side and it stick out.  So I picked up a package of craft magnets from Hobby Lobby, they were I think a $1 or $2, and they have adhesive on one side.  I made the bird using my cameo, I created the background shape (the yellow) copied a mirrored image and then welded it together at the tail feather. Then I cut the top section (the purple) I wish I would have duplicated the top portion so you could see it from both sides so I think on next week's I'll do that.


Also this week I made more mini bunting banners, I used another old school punch and just cut them to look like banners.


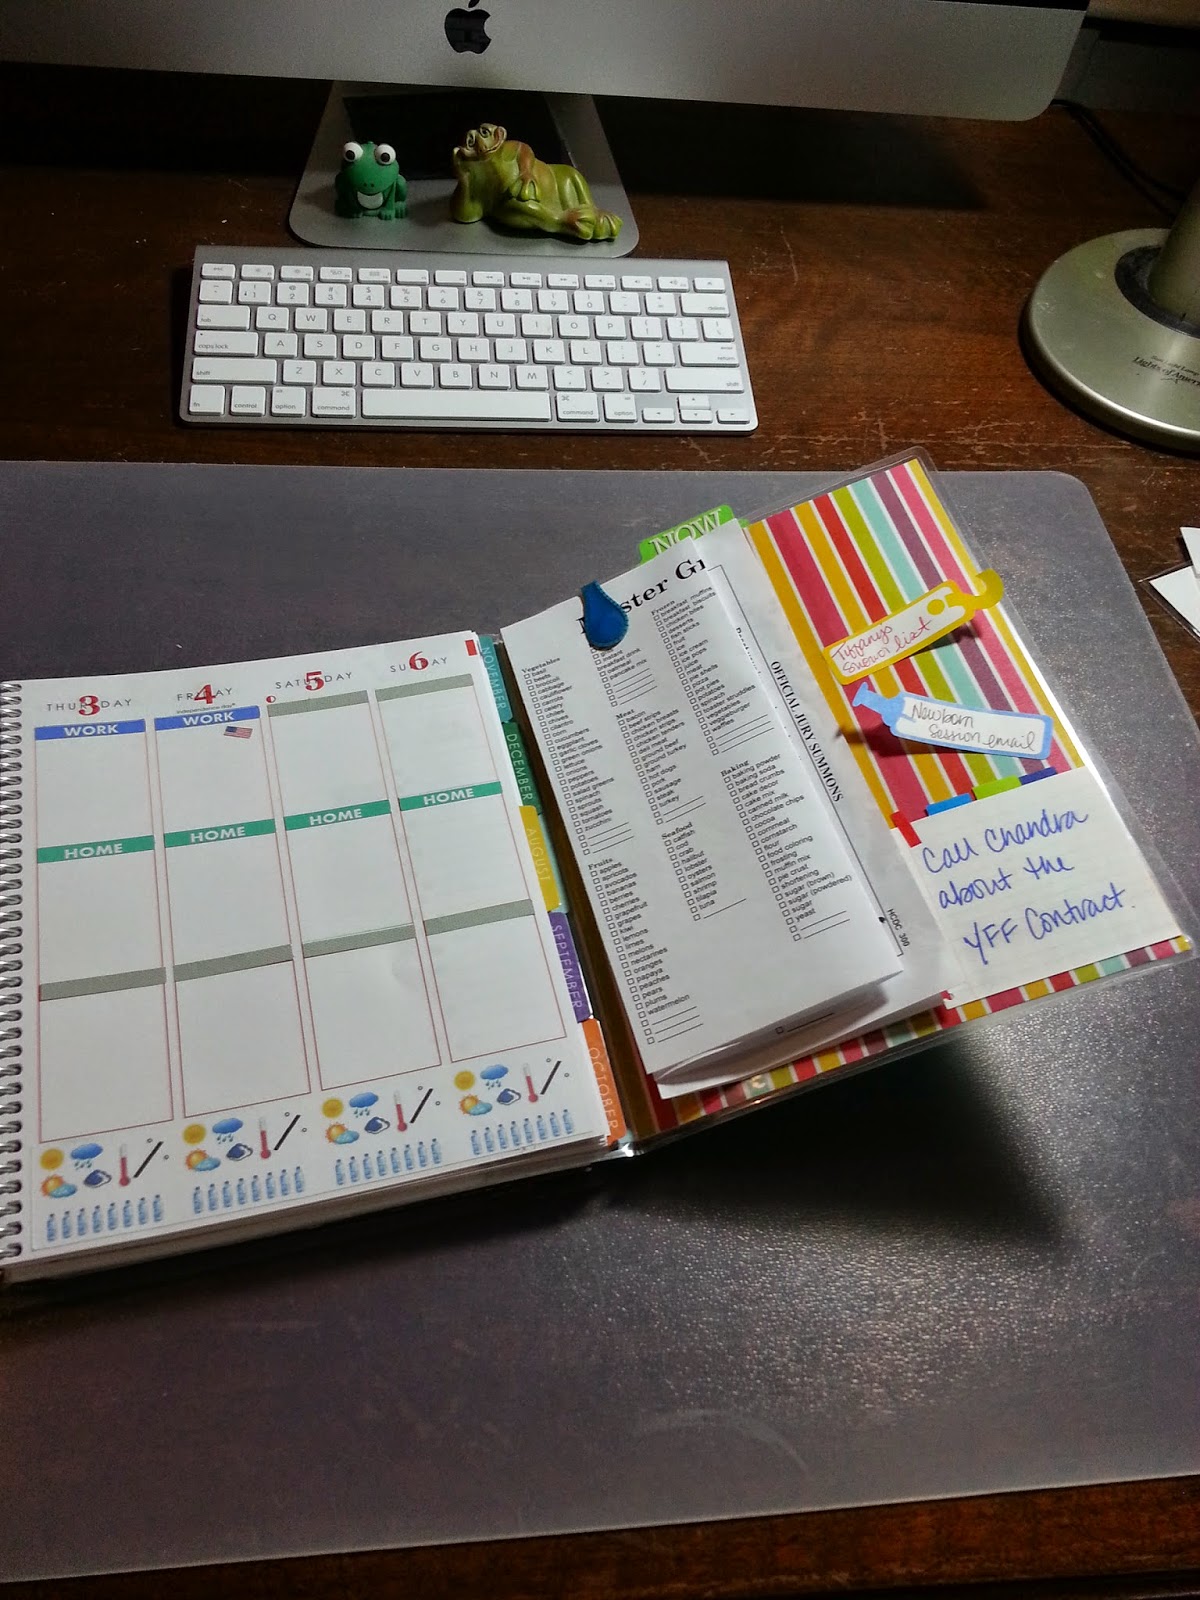
Last week when I shared last week's spread...


I had several requests for my hydrate and a habit stickers so I created two free files you can download.  The first is a the hydrate by itself in png format.


This can be used just like a jpeg you can insert it into a word document the same way.  There is just no background, it's just the image.  You can get that {HERE}. [PERSONAL USE ONLY, DO NOT DISTRIBUTE OR SELL]

Now for the Hydrate/Habit sticker, I don't think everyone is going to use just my same habits so I created a single square that has the hydrate part and blank sections so you can add your own habit.


I did include the M-S circles so you won't have to worry about that part.  Just insert the jpeg into word and then add a text box on top.  Type what ever you want, just make sure you right click on the text box and check no lines, that way it will look like the words belong on the jpeg.  You can find it {HERE}.  [PERSONAL USE ONLY, DO NOT DISTRIBUTE OR SELL]

Below you will find a walk through video of my initial setup of my Erin Condren Life Planner that I trimmed down and punched to fit in my A5 Filofax Finsbury.


Monday, August 4, 2014

My new weekly list stickers....

I created these the other day and I am really loving how they turned out.  I use them on the weekly spread to cover up the weekly goals and notes.  I wanted a little more structure and fun. lol


I've had several requests to share these, so I decided to do that here on my blog.....you can download this word document {HERE}


Tuesday, July 29, 2014

Fitness Tab in my Erin Condren Life Planner - Free Download & A Video Explanation

Today I'm sharing how I track my food intake and my exercise in my EC Life Planner.  This is just an easy way for me to keep up with what I eat, log some goals, do weigh ins or measurements and then also track the exercises I do as well as the calories I burn and then a place I can recap on the week and my progress.


Here's a video on my YouTube channel that will give you a quick overview of my planner and an in-depth look at how I use and incorporate this insert.


I wanted something that I could easily add to my planner, but not add too much bulk and it not be on a weekly spread, so I came up with design insert.  I designed it as 8.5x11 so that I could fold it and put it in my Fitness Tab section.  I was going to use post-its and clip it in but then decided I didn't want to go through the trouble so I added a 6x8 page protector so I could easily slip the current week's tracker in there.  If you're interested and want to use this, feel free to download it {HERE}


Sunday, July 20, 2014

Photo Collage in my Erin Condren Life Planner


I bought these Simple Stories Snap page protectors just so I could add one to my EC Life Planner.


I used the photo sheet that has 12 2x2 squares on each side. I printed several of my favorite quotes from Pinterest, I made a few on my own using some funny quotes and I printed some of my favorite pictures from Instgram of my family,  dogs, mom and best friend.

After I put them all in the slots I took the edge that had the three punched holes and covered both sides with washi tape. I used a black chalkboard one just because it was thicker and not transparent. I trimmed the excess off then cut about 1/8 off. Added a coil clip and snapped it in.


Tuesday, July 15, 2014

Weekly Planning Session - Erin Condren Life Planner

I thought I would give you a glimpse into my process, I previously used a personal size pink Domino Filofax but I never felt like I could get creative with it.  It seemed small and cramped, I just wasn't happy with it.

Moving into the new Erin Condren Life Planner took some revamping to they way I was doing things and it gave me a chance to look over and reevaluate my system.  I currently have two major categories of planning time a Monthly Session and a Weekly Session.

Today I'll tell you more about my Weekly Planning Session, how I do it and what all it entails. I plan to write out my guide here and then post a video where I walk you through how I plan my upcoming week.

I have two tips for you before we get started....

1. Plan time to Plan, I know that sounds funny but I have found if I have a set time that I give myself to plan, I get way more done.

2. Have all your supplies in one place, I have a craft studio/office and I have a set place for all my planning stuff.  It just makes it all so easy when I sit down to decorate or plan my week.

Okay let's get this weekly planning session under way.

Week Debrief -

I sit down and write up a week summary, I created a week debrief paper and insert it into the week.  I do this summary mainly because I'm behind in project life and this helps me remember weekly events or happenings in detail when they happened.


Dashboard Clean Up -

I go through all the sticky notes or loose items I clip into my planner.  I put the post its on the week the even will happen if I don't want to write it down just yet and I file away papers to clean it all up.


Weekly Goals -

I look to see if I completed the items I wrote in my "Get Done This Week" & "Phone Calls to Make" section on the left side of my weekly pages.  If I don't complete something I will move it to the upcoming week.  The items I write here are just items that I need to do but they don't have to be done on a specific day of the week.


Week At Glance Notes - 

I keep blank ones in my planner so I can jot down things that I may not be ready to put into my planner, I like it neat and organized and sometimes I cannot do that right then.  This helps me organize my week and when I sit down to plan out my upcoming week I know what days I am not available or times I'm not available.


Month View - 

Then I look at my monthly calendar to see if there are any events or items that I need to put on my week view.  I don't move my bills into my week view, I have a budget divider for that.

Well that pretty much sums it all up below is a link to my YouTube video that will walk you through it all and you can see it in action.  If you have any questions, please feel free to comment below and I will be happy to answer any questions.


Saturday, July 5, 2014

Planner Pouch Tutorial

Okay I made another planner pouch.  This time I made a little smaller than my last and it's a silver and black chevron with a yellow damask lining.  So cute!  I love it, in fact I love it so much I decided to make one more and film it as I do it so I can post the tutorial.  It was so easy, any sewing newbie can do it.

This was only my 3rd time sewing something, lol and I ended up with three planner pouches, if I can do it then anybody can.

Here is the ones I made in the tutorial and then right below it is the one I made earlier today.  Check out the bottom for a YouTube video tutorial on how I made the green pouch.


Friday, July 4, 2014

DIY Planner Zipper Pouch for my Erin Condren Life Planner & *Giveaway* a *RAK* for the Nate Berkus Pouch....

**Want to win the Nate Berkus pouch?  Comment below with your guess to this question...

My estranged father lives in what country?"  lol Random I know but it's the only thing I could think of that would be a good guessing game.  I really have no relationship with him so there are zero, weird emotions about this.  lol


So on to my DIY pouch...

I bought the zipper pouch that everyone was talking about from Target and it fit but my planner has a top tab on my dashboard and it kept getting stuck.  I didn't want to take the chance of it getting messed up so I decided to make my own pouch.

I went to Joann's today and found several fabrics that I liked and decided to just go for it.  The one I made is a tad bigger but I know my planner will get bulky and I wanted to make sure I have enough room so I am very pleased with the outcome.   

Here are some pictures and below the pictures is a YouTube video show you a little more detail.


Thursday, July 3, 2014

Winner Winner Chicken Dinner.....

The winner of my foldout dashboard is Tatiyana.......

Please email me lifeinprint@yahoo.com so I can get the info I need to send you your package!!


Monday, June 30, 2014

Overview of my custom dividers in my planner

I posted a couple of pictures of the dividers I created for my Erin Condren Life Planner and had several request for information on them.

So for my dividers I have a Budget Section, Meal Planning Section, Business Section, Fitness Section, Bible Study Section and 30 days of Section.  


To create these it was really simple, but you do need a few supplies:

1. Laminator (I got one at Walmart for $19.99)
2. Laminating Sheets (Walmart has letter and legal, plus smaller sizes)
3. Scrapbooking Cardstock (preferably a two sided paper you like because you will see both sides)
4. Scissors
5. Tab Punch (I used the WRMK tab punch)

So first you want to cut your paper down to to 8 1/2 x 6 3/4, then laminate it and then add the tab and the clear overlay to seal the tab and that is it, so very easy.

Here is a video explanation of my dividers and how I use them.


Sunday, June 29, 2014

Planner Dashboard - How To Video & an RAK

I had a few people ask me to show how I created the foldout dashboard that I use in my Erin Condren Life Planner.

**Disclaimer** I am not the original creator of this fold out dashboard, some one else did it in a Filofax, I have not seen it done in an Erin Condren Life Planner though.

Would you like to win this dashboard?  Well if you do, then all you have to do is go and subscribe to my YouTube channel, then come back to here and comment that you did.  I will pick a winner on Thursday evening.    I'm new to YouTube, but I have several planner and planning inspired video ideas in mind and you will not be disappointed.

Here is the YouTube video, take a look, subscribe and then comment below and you just might get this mailed to you......along with some other goodies!


Thursday, June 26, 2014

Foldout Planner Dashboard & Video

I decided I needed more real estate in my planner and a fold out dashboard was the way to go for me.
Some use the dashboard to hold sticky note pads but use it for todo items, notes about things that I need to add to my calendar or just misc items I want to remember.

*DISCLAIMER* this was not an original idea I came up with, I had seen this on one of the countless youtube videos that I watched about organizing planners.  This particular lady used this concept in her filofax and called it a fold out workboard.

Okay not that I got that out of the way lets get into it. I tried to create this a couple of different ways until I found the way that worked best.  I used a thin chipboard and cover it with cardstock - Epic Fail - way to stiff and bulky.  Then I tried it with a manilla folder and cover it with cardstock as well, I laminated it but again  Epic Fail - it was too thick and the laminator did not laminate it correctly.  So my final and successful attempt was using a colored hanging file folder, then I covered the inside with a very thin patterned paper and then laminated it. Score!  It worked great.  Now you could easily find a cute colored plastic-ey (for lack of a better word) file folder you find at that office supply store but for me I wanted to use what I had.

Here is what it looks like:

When you first open to is I have my color code system and at the top you can see the tab I created that says today.


Then you flip it open and see it this way...notice the NOW tab. lol I rand out of small o's and a's so I wanted something short and sweet, obviously if I am looking at it then it's happening right now so the word NOW seemed to fit...and I had enough letters. lol


I have grocery list attached and then a couple of reminder stickers and an sticky note about calling a client. As you can see it opens up and I can see all of these things as I view my weekly spread or even my monthly spread.

So to create this I used the following items:

The tab punch and it comes with clear fold over labels so the tab is laminated, looks great! I could have printed it but I used small letter stickers instead for my NOW and Today.


 This is the file folder and the thin patterned paper, it came from a paper pad I think I got from Michael's.  It's very thin and one sided so it was not too bulky at all.


And now a video for you to see it...this is my first YouTube, sorry for the format I filmed it on my phone for easy access...but that won't happen again. lol


Wednesday, June 25, 2014

I'm a first timer - I got my Erin Condren Planner 2014/2015

Wait before I go into the planner, I have to point out that this is only my 3rd post of 2014 and the year is half way over....I totally fail at blogging. BUT with that being said maybe I can use my planner to get back on track. lol (don't hold your breath)

Okay so I jumped on the bandwagon and decided to switch from my filofax and go to the Erin Condren Life Planner....I love that it's spiral bound. I love the colors, it just makes me so HAPPY! 

Now I was not too pleased with the cover options, there was not one thing that just screamed pick me, so I decided to design my own.  I figured they give you the option to upload a full frame picture so why not go for it.

I'm not a digital scrapbooker by any means but I do create invitations and cards for some of my clients (I have a photography side biz) and I do know my way around photoshop, so I went for it.  I am so happy with the way it turned out.  Now they did mess up and leave the L out of April and I am patiently waiting for a response from the company but I am very glad the covers are interchangeable so I can live with this for a bit.

I first created the woodgrain background, and I added some paint splatter brushes and then I added my pictures with a drop shadow and the final piece was the silver sequins.  The front are pictures of my husband and I, my kids and my furbabies.  I love frogs and photography so a frog holding a camera seemed fitting. lol The back are a couple of pictures and some various things that I just like, pictures, quotes etc.

All in all I am so happy with the outcome (except for the name issue) and I am already thinking up a design for my next cover.  Oh the possibilities....

The quote on the front, under my name, is hard to read in the picture but it says "Turning my Can'ts into Cans and my Dreams into Plans"

Can't forget the token "My Box Has Arrived" picture. 


Monday, January 20, 2014

Art Journal.....Do you keep an art journal?

I love looking at Art Journal's that people create and I am in awe of them.  They just inspire me so much, I don't have to take on another "hobby" but I really want to start one.

I mean I can have one and just when I feel like working in it or when I have time I will.  I love quotes and I have tons written down and tons that I have pinned so I figured this would the theme of my art journal.  Just words that I like and use techniques I want to try.  After all it's art, or my interpretation of art, lol.

Now choosing a journal was the hardest decision for me.  I like the ones that were bound then I like the ones that were just pages and people put them in a small binder or handbook.  After I thought about it for a while I decided that a handbook was the route I wanted to take.  So I created my first art journal page on a 6x8 sheet of card stock with the idea that I would buy a new cute handbook.

This my first art journal page ever:


I was all prepared to find a handbook but then, as I was trying to clean up my craft area and I was getting all my 2014 project life stuff together I came across a book that I bought while at a resale place.  I love the the title and I knew this was exactly what I wanted to use. The title is "The Heart of a Woman" by Maya Angelou.


 I tore out some pages here and there to help thin it out a little and then I got started with the inside cover, here is what it looks like.


I am so excited to have this as my place to just be creative with just whatever comes to mind.


Tuesday, January 7, 2014

Starting off 2014 the right way....

Well we will see how well I can keep up, my goal is to blog once a week.  Realistically I know I will not blog everyday and not even every other day but once a week, I should be able to handle that.  Maybe, at least I'm going to make an attempt.

I figured I would start off the year with some picture of my "creative space".  I call it this because it's just that a space, an area in our game room/family room upstairs.  I do my editing here, my scrapbooking, my project life and any other crafty type thing I can come up with.

My area consists of a huge desk I got for $20 on craigslist, a kitchen island cart from Ikea, a white desk from Ikea (formally part of our family command station) and my newest addition the small gray metal cart I got from Ikea this past weekend.  I was so close to getting the Raskog cart but I saw this one and it was $20 cheaper and would do the trick.  Along the back wall I have these black metal shelves that hold albums, paper, tools I don't use, a typewriter that I got for $5 (currently not working), and then my daughter's sewing machine that I took over.

My area is functional but I long for the day that I can have a room to myself and I can do all cute functioning matchy matchy stuff. LOL

Sorry for the phone pictures but 1. I didn't feel like getting out my "big" camera and 2. If I wanted to make this post happen and have pictures I needed it quick and simple.